
I recently had the pleasure of attending a Christmas wreath workshop with the talented Jess from The Newcastle Food and Flower Markets.
During this workshop Jess shared step by step instructions and her in depth knowledge on how to create the perfect wreath to suite your personal style.
In this blog post I will share with you the steps involved, tips on the different foliage to use and how to layer them to create your very own masterpiece.
What you will need
Before starting you will need the following items which can be purchased from The Newcastle Food and Flower Markets (if this is local to you) or the foliage can be purchased from flower markets in your area.
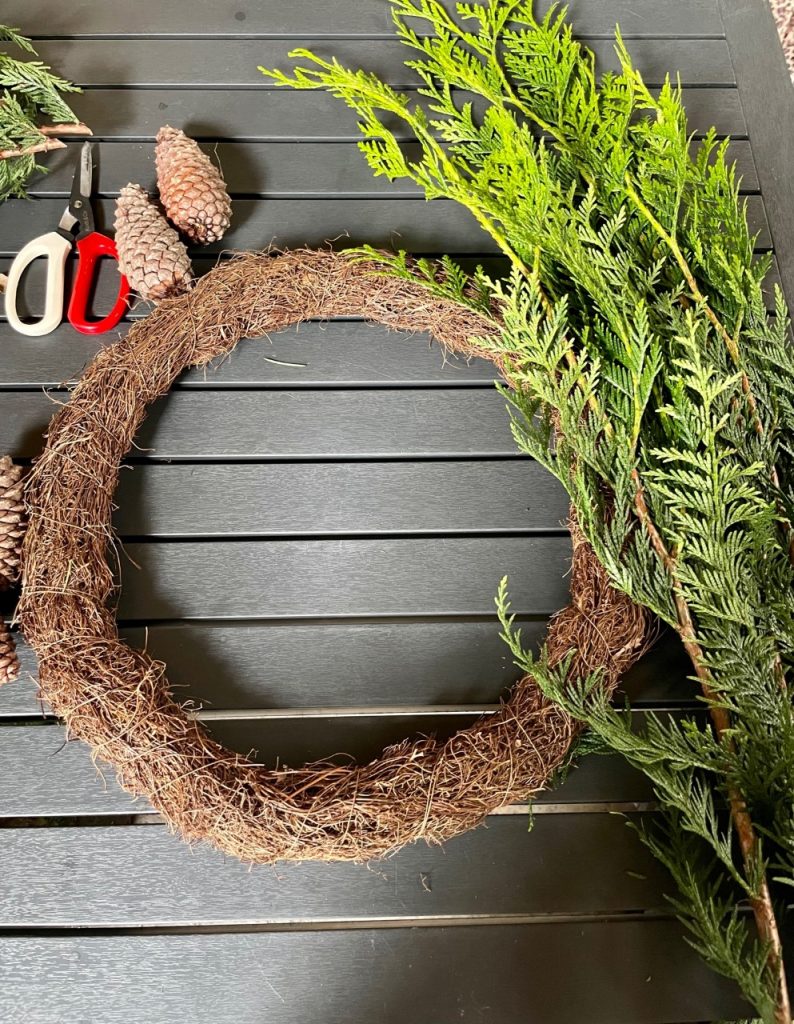
1 x pair of floristry scissors which can be purchased from a local florist or online from Koch and Co., a pack of green florist millinery wire which can be purchased online and a few black cable ties, available from any hardware store.
1 x natural wreath. In my example, I used a Grapevine and Twig Mix Natural wreath in 40cm Diameter which can be purchased via The Newcastle Food and Flower Markets, however there are many different wreaths out there such as extruded foam, grapevine, wire, straw, and hoop, so choose the one that best suits your personal style.
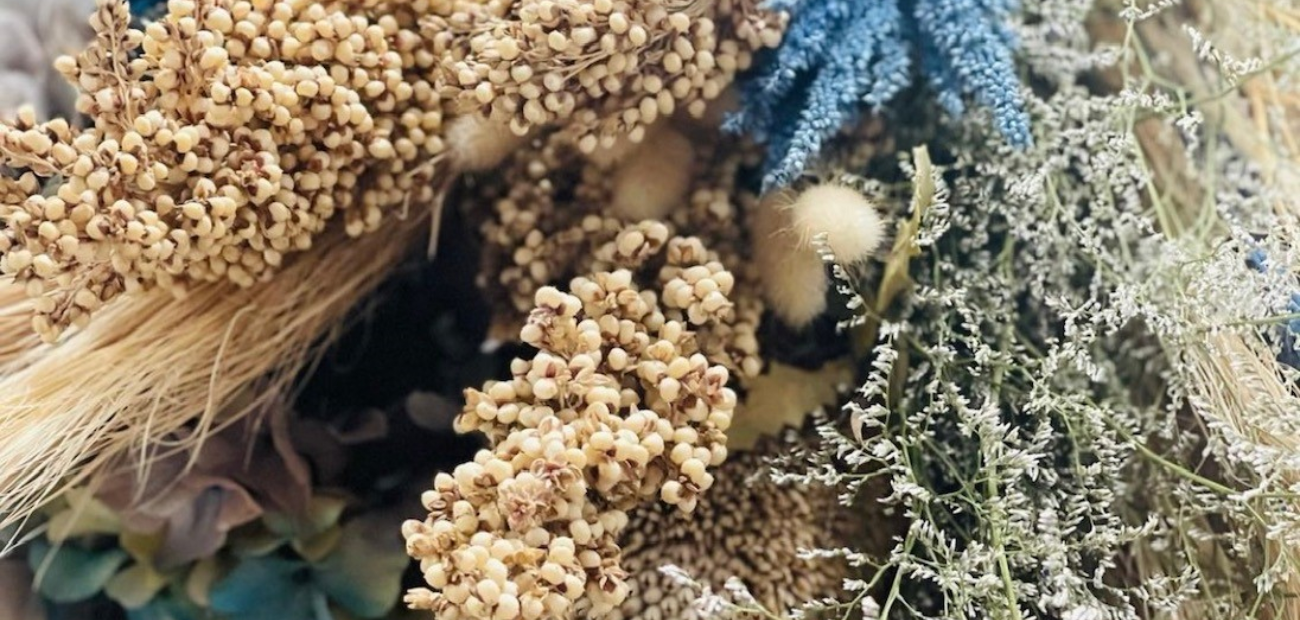
The following florals were used in the making of this wreath and were chosen specifically for their ability to dry out.
1 x bunch of Pine
1 x bunch of Spruce
1 x bunch of Copper Beach
1 x bunch of white Rice Flower
1 x bunch of Misty
1 x bunch of Bracken
2 x small Pinecones
1 x bunch of Gum nuts
The making of the wreath
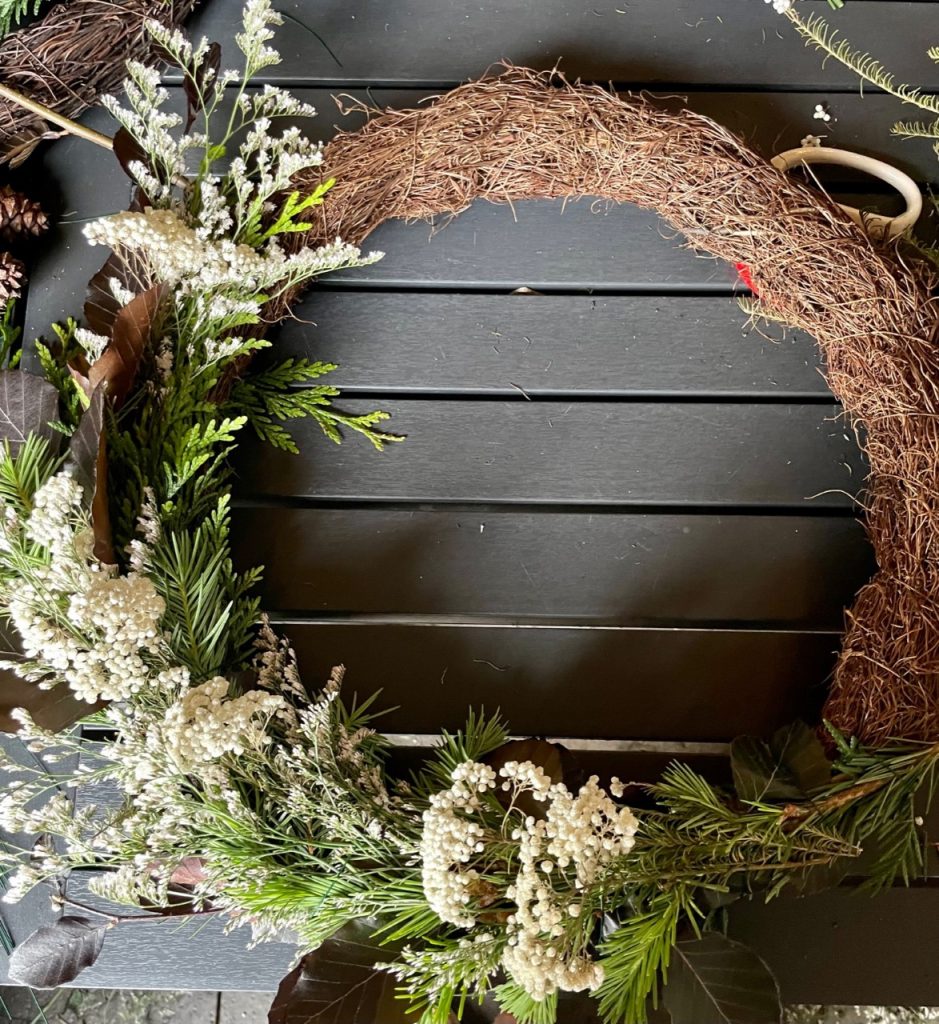
Step 1 – Begin by deciding how you would like the wreath to look. Do you want to cover the entire wreath, only half the wreath which creates a U shape or do you only want to cover one side so that it’s off centre.
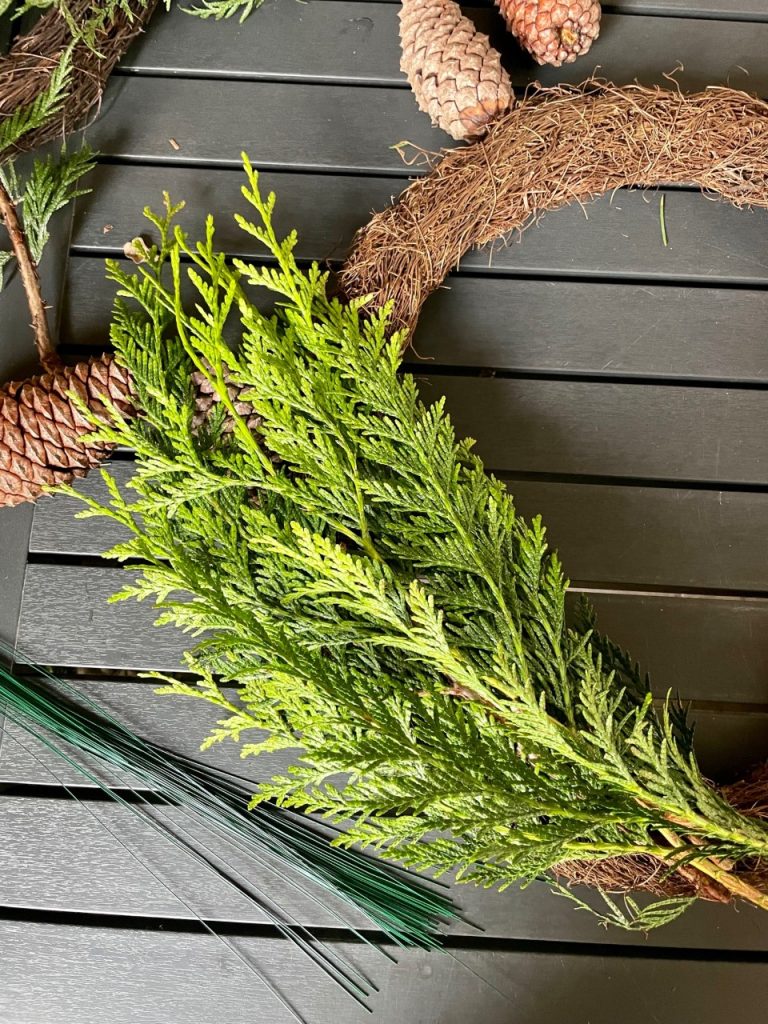
Once you have decided how much of the wreath you will cover, start by cutting the spruce into smaller bunches and attach one bunch at a time using the millinery wire.
Place the wire over the spruce and tie it tightly by crossing the wire over on the other side of the wreath. Once you have tied the wire, cut the excess bits so that you don’t have any wire sticking out.
Step 2 – Take the copper beach and cut it into smaller bunches, unless you want larger pieces to create a more whimsical look.
Place the copper beach over the spruce and like step 1 tie the wire tightly around the wreath to keep everything in place and trim the excess wire at the back.
Step 3 – Take a bunch of the pine and cut it into various lengths depending on how you want it to sit on the wreath.
A trick I used was to use the pieces of pine that were naturally bent a certain way so they fit the U shape of my wreath perfectly.
Tie the pieces of pine tightly with the wire and trim off any branches that may be sticking out.
Step 4 – Next you will be using the misty to add pops of white to your design.
In my example I cut the misty into smaller bunches to attach to the wreath, but you can add as much or as little as you like, just remember to evenly disperse it.

Step 5 – Two of my favourite dried florals to use for texture are white rice flower and bracken.
Again, you can use these in both larger or smaller bunches and place them around the wreath. Keep some handy at the end as these are great for filling anywhere where there might be gaps.
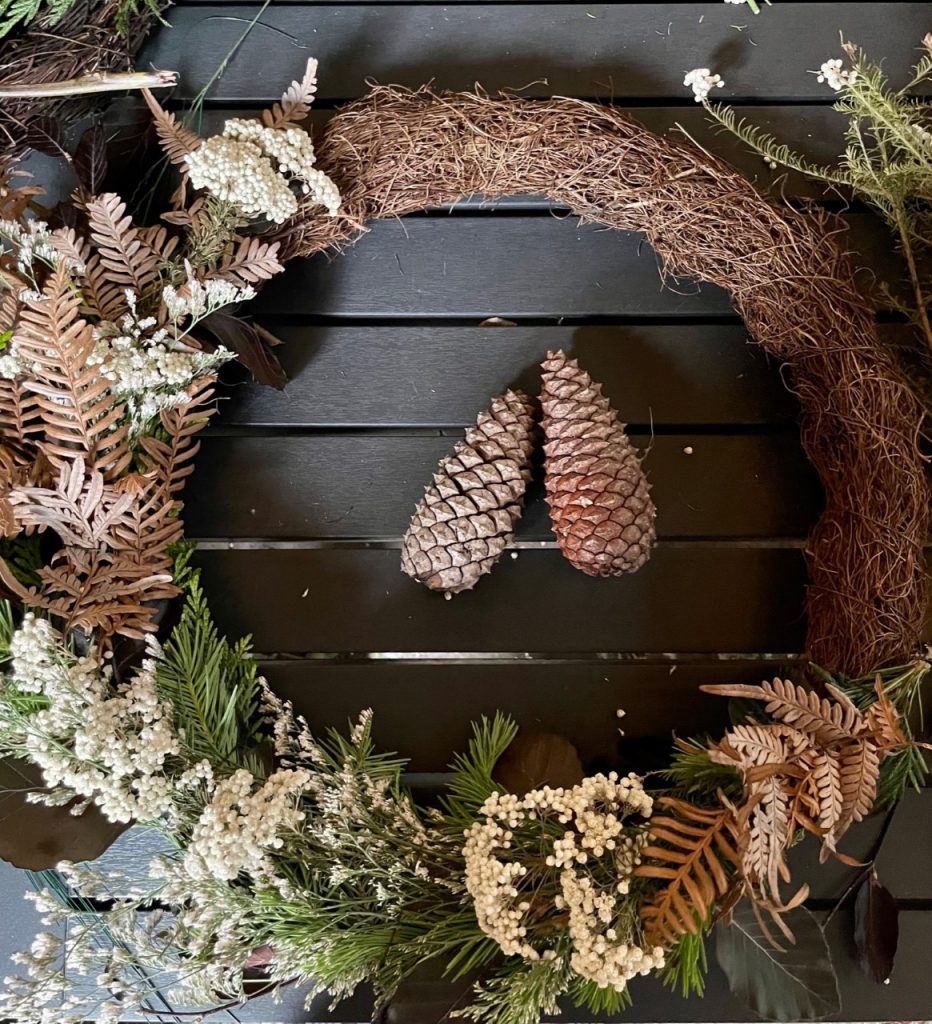
Step 6 – It’s time for the pinecones. Whilst you don’t have to use these they are a great addition to add another textural element to the wreath.
If you do use them make sure you save space on the wreath for where they are going to go so they don’t look like an after thought.
To tie them on you will need 2 pieces of wire. Place the pinecone on the wreath and weave the wire underneath the scales of the pinecone and tie it tightly. Use wire on both the top and bottom of the pinecone to hold it securely in place.
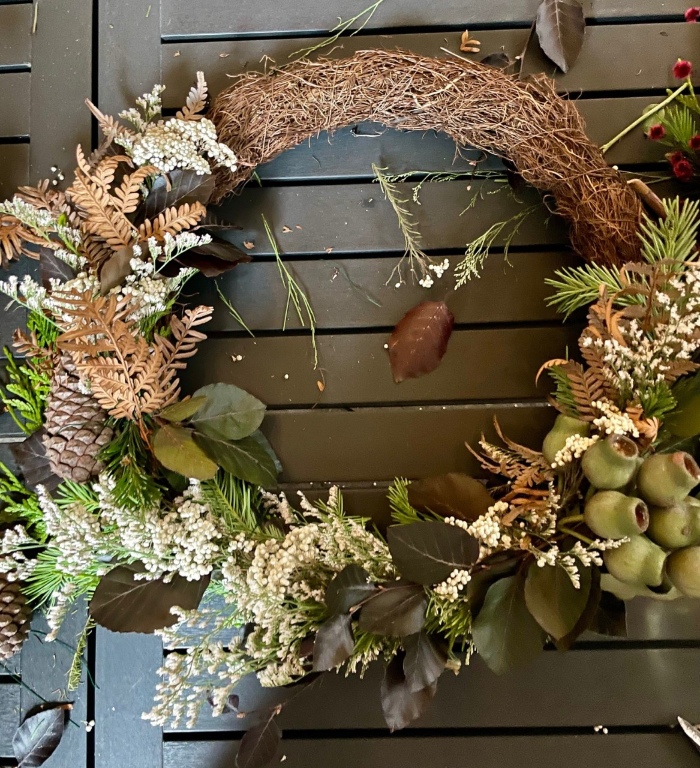
Step 7 – Nothing says a native wreath like gum nuts. For ease it is better to keep them in a bunch rather than separate them.
As they are heavy, decide on where you would like them to go on the wreath and tie them on with a cable tie to secure them in place.

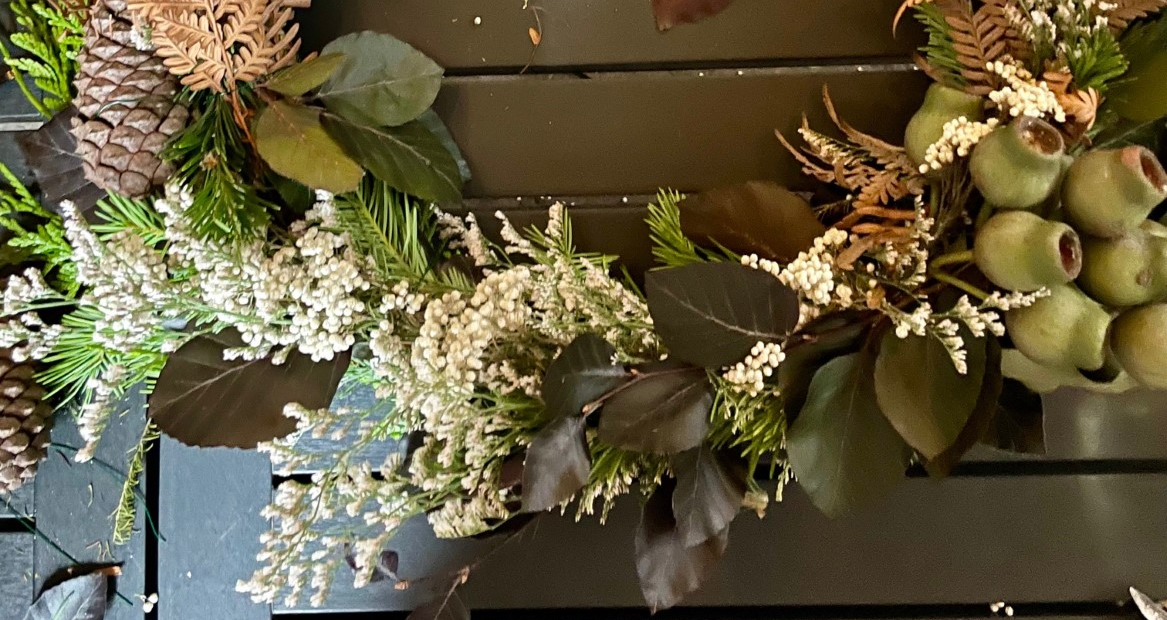
Step 8 – Now for the finishing touches! Hold your wreath up and look for any gaps there might be. Cover these with the floral of your choice and hide any wires or parts of the cable tie that you may be able to see.
Look at the back of the wreath and cut any wires that may be sticking out and give any foliage a trim that may need it …Remember less is often more as you could spend hours adding bits and pieces!
The best way to hang your wreath is with a door hook which can be purchased from stores such as Target or Big W.
And there you have it, a beautiful handmade wreath ready for you to display.
If you enjoyed this post you might like to check out – “How to create a Christmas table setting without the fuss”
Image and brand credits – The Newcastle Food and Flower Markets, Koch and Co., Big W and Target. Images by Michelle Canny Interiors.